-1.jpg)
If you're thinking about setting up a room for podcasting, this is the most comprehensive tutorial to soundproof any room to avoid outside noises & echoes.
Soundproofing Or Sound Treatment? What's Right For You?
Most people think they need to soundproof a room that they are going to be recording in. By definition, "Soundproofing is reducing the sound pressure with respect to a specified sound source and receptor." This is the fancy way of saying: removing all sound that can come in and out of a room. Soundproofing means you could be in a room in your house and have a firetruck go by, but you wouldn't even know it was going by.
Sound treatment is the art of minimizing the number of sound waves that can enter your room and bounce around the room, causing an echo.
Most people confuse soundproofing with sound treatment, and because of this, they buy the wrong products and think about the entire process incorrectly.
Soundproofing can be very expensive, and most people don't need to do it. With modern microphones and mixers, it's possible to tune in your equipment to a point where it's difficult to hear any outside noises. This could be as simple as adjusting your "gain" on a mixer or microphone to help reduce the amount of outside noise picked up.
Sound treatment, on the other hand, is great for when you are recording in your home, but you hear a distracting echo or want to minimize the amount of outside noise that is entering your studio.
The key to succeeding is understanding what you need for your situation. If you have loud noises outside that constantly distract you, then it may make sense to consider soundproofing the room you plan on recording in. It's a more expensive and intense process where you focus quite a bit on creating barriers to stop outside sound from coming in.
If you think your room is great, but the occasional car drives by, or you want to get rid of that nasty echo from the room, then you need to do some sound treatment to help reduce the way the sound bounces around.
How Does Sound Move?
Sound moves in waves. Think of throwing a stone in the middle of a pond. That stone represents the origin of the sound. Initially, the wave of sound right next to where the sound originated from has the most powerful waves moving out. As the wave begins to hit objects and collide with the environment, it starts to break up into smaller and smaller waves until it's no longer noticeable. This concept is the exact same way sound works when a car drives by, or when you speak in a room. The sound waves travel away from the source of sound and impact the local environment. Louder sounds have bigger waves, and quieter sounds have smaller waves. That's why we can hear someone yelling, but it's hard to hear a whisper.
In your room, sit alone without talking before you consider soundproofing or sound treatment. Listen to what noises are coming in and out of the room. Is your family using a blender in the kitchen next door, or is a car with a loud exhaust driving by? Determining where a sound comes from will help you figure out what kind of sound treatment you need to have.
Believe it or not, if you get a lot of outside sounds, an easy and cost-effective way of dealing with it is simply to put up some larger bushes or shrubs. It gives sounds plenty of surfaces to bounce off of and dissipate long before reaching your house.

How Will Sound Waves Generated By Your Voice Behave In Your Recording Room?
Just like in the above example with the rock in a pond, sound moves around your room in a similar fashion. Emptier rooms typically have an echo, and if they are full of hard surfaces such as a concrete floor or bare walls, the sound wave has nowhere to go other than to smash into the walls and bounce back. This is typically why you can hear an echo. Larger rooms can amplify the sound and make it even louder. Typically, you will find this in warehouses that are open and full of concrete walls, floors, and metal ceilings. There are few places for the sound waves to break up and get absorbed into.
The best example of predicting how sound will behave is to speak loudly in a room you plan to record in. It’s important to note that sound moves in three dimensions: It can go up and down, left and right and forward and backwards. Based on this understanding, and knowing that sound is going to hit the ceiling, the floor and walls will help you prepare for echos and give you a better understanding of what you need to do to help reduce them.
Sound hates being broken up. Just like the waves in the pond, it's much harder for sound to bounce around if it impacts a surface, but not all surfaces are created equal. Softer surfaces such as a couch or shaggy rug are great at absorbing sound and creating an uneven surface to reduce sound from bouncing around. This is also why sound panels have jagged surfaces on them when they are mounted on the wall. It's a great way for sound to get absorbed and also broken up and trapped inside the sound panels.
-1.jpg)
This is important to keep in mind when designing your room and what you plan on having inside. Not all surfaces are created equal. Most people, when recording, are doing one of two things. They are either seated at a table or standing if they are singing and capturing their vocals. The general rule of thumb is that your sound-absorbing and diffusing materials should be covered one to two feet above and below where your mouth lines up with the wall. This is the most important area to work on because this is where the sound wave is strongest and will likely be the first point of impact. If you do nothing else and choose not to read the rest of the article, this is the most important area to focus on and it will have the biggest impact on echo and reverberation.
Absorption & Diffusion: What's The Difference?
Sound can be dealt with in two ways: absorption and diffusion. Sound absorption is great if you're soundproofing a room. You want to absorb all of the sound that could be entering and prevent it from reaching your microphone. Sadly, that's not practical for most people, and so we rely on sound diffusion. There are products that do a bit of both. Keep in mind, everyone's situation is different, and getting the right mix of absorption and diffusion is important for overall sound quality.
It is recommended that most podcasting rooms/studios have a healthy balance of absorption and diffusion to help reduce echo and provide an ideal environment for recording. Having a combination will help reduce outside noise and remove an echo from people speaking inside the room. Overall, neither is more important. It's a balance between the two, and a lot of what you should focus on should be geared toward how loud you are and the size of the room.
A personal favorite sound panel of mine is this 12x12x2 inch pyramid panel.
These are going to do a great job at both absorbing and diffusing sound coming from inside the room as well as providing a layer of protection from outside sound. Typically, if you can cover a wall in this material, it's going to do a great job at reducing any echo as well as providing a great layer of protection from outside sound.
You should note, this material is made predominantly for reducing echo and not outside noise. If you're looking to add a layer of protection from outside noise, you would want to consider these 4x8 foot sound deadening panels. These panels are a great option for drastically lowering the noise coming from outside of the room, but won't be the best solution for reducing echos. If you have the room or you're planning on building a studio, substituting these for sheetrock or adding them on top of sheetrock will provide the best noise reduction from the outside.
Choose The Best Room For Podcasting
Believe it or not, the size of the room and its style play a massive role in how audio is going to sound. Smaller rooms are easier to control and give the sound less time to expand and find surfaces to bounce off of. If you take a look at Joe Rogan's studio, it's very small and intimate with large sound-absorbing panels on them.
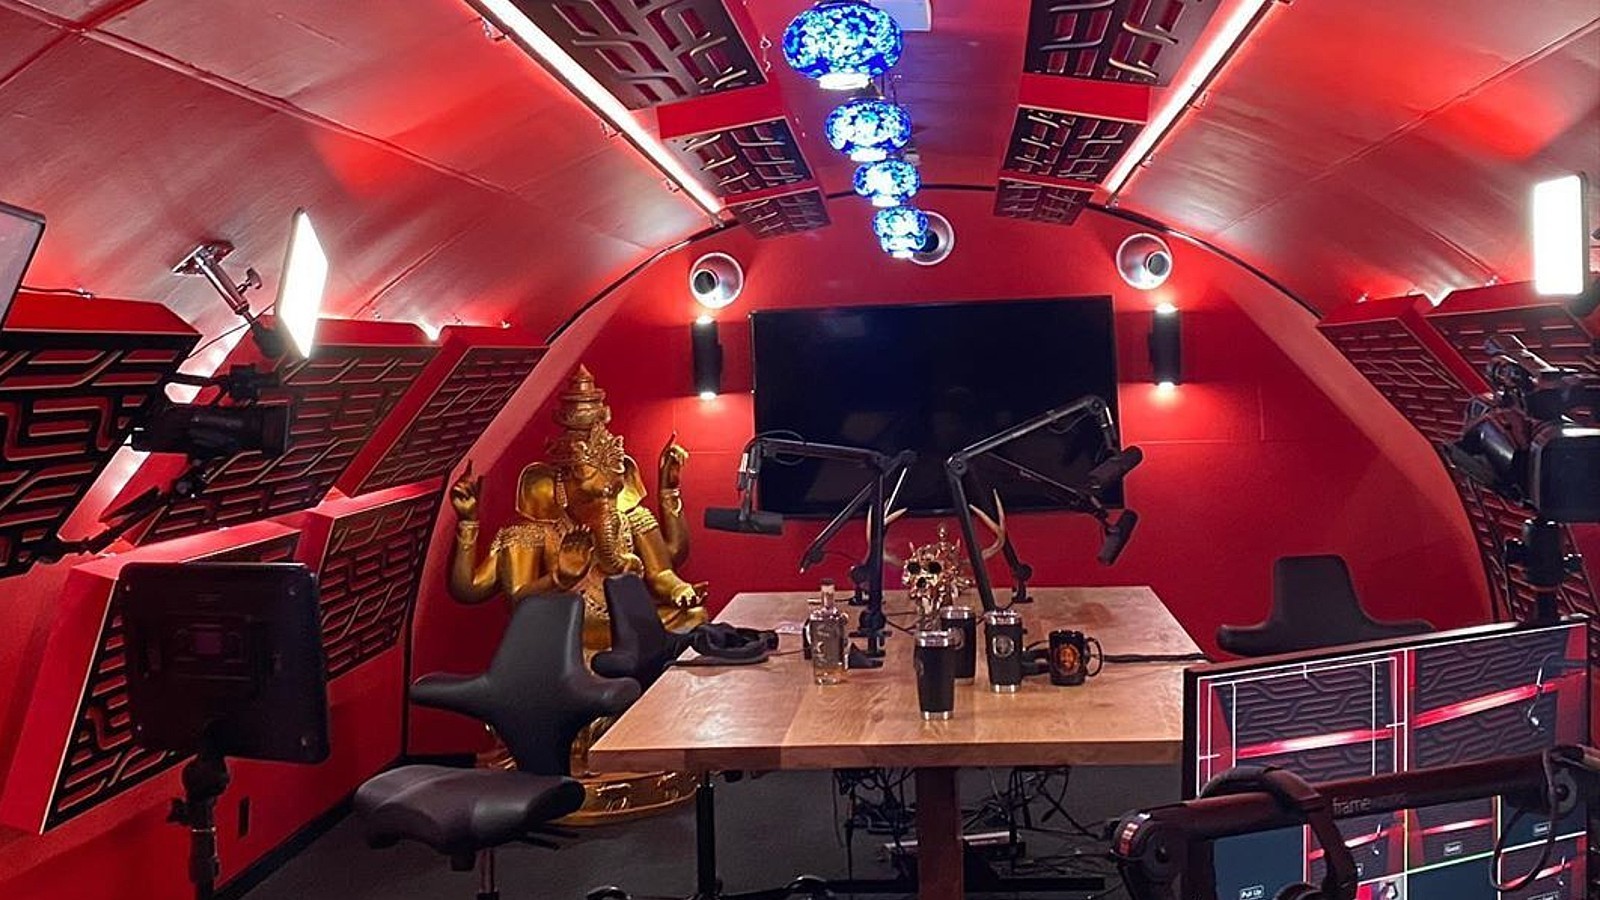
His smaller room is ideal for having nearly perfect sound quality, and a huge bonus is the rounded walls inside the studio. They help send the sound in more unique directions than a normal, flat wall would. Having rounded walls is not practical, and I wouldn't recommend paying for the upgrade, but if you have the option and you want your studio to sound as good as possible, it's a nice option.
Simply put, the best rooms for podcasting are small rooms that have uneven surfaces. These are ideal for stopping the sound from bouncing around.
Cover The Windows
Unfortunately, as beautiful as it is to have natural light coming into your studio, having windows is a nightmare when it comes to sound.
Why?
A window is made of the exact type and texture materials perfect for echoing sound. They are very hard and rigid surfaces that are perfectly flat, and are ideal for allowing sound to bounce off and echo. They are also typically placed at the perfect height for you to see out of them when you're sitting and standing. As beautiful as these are to have in your studio, they are horrible to have in a recording room. Keep in mind, it's important to listen with your equipment to see if you can hear an echo or not with a window. If you can't get your mic settings dialed in the way you like, you have taken all the other precautions described in this blog, and you're still getting an echo, chances are good it's the window.
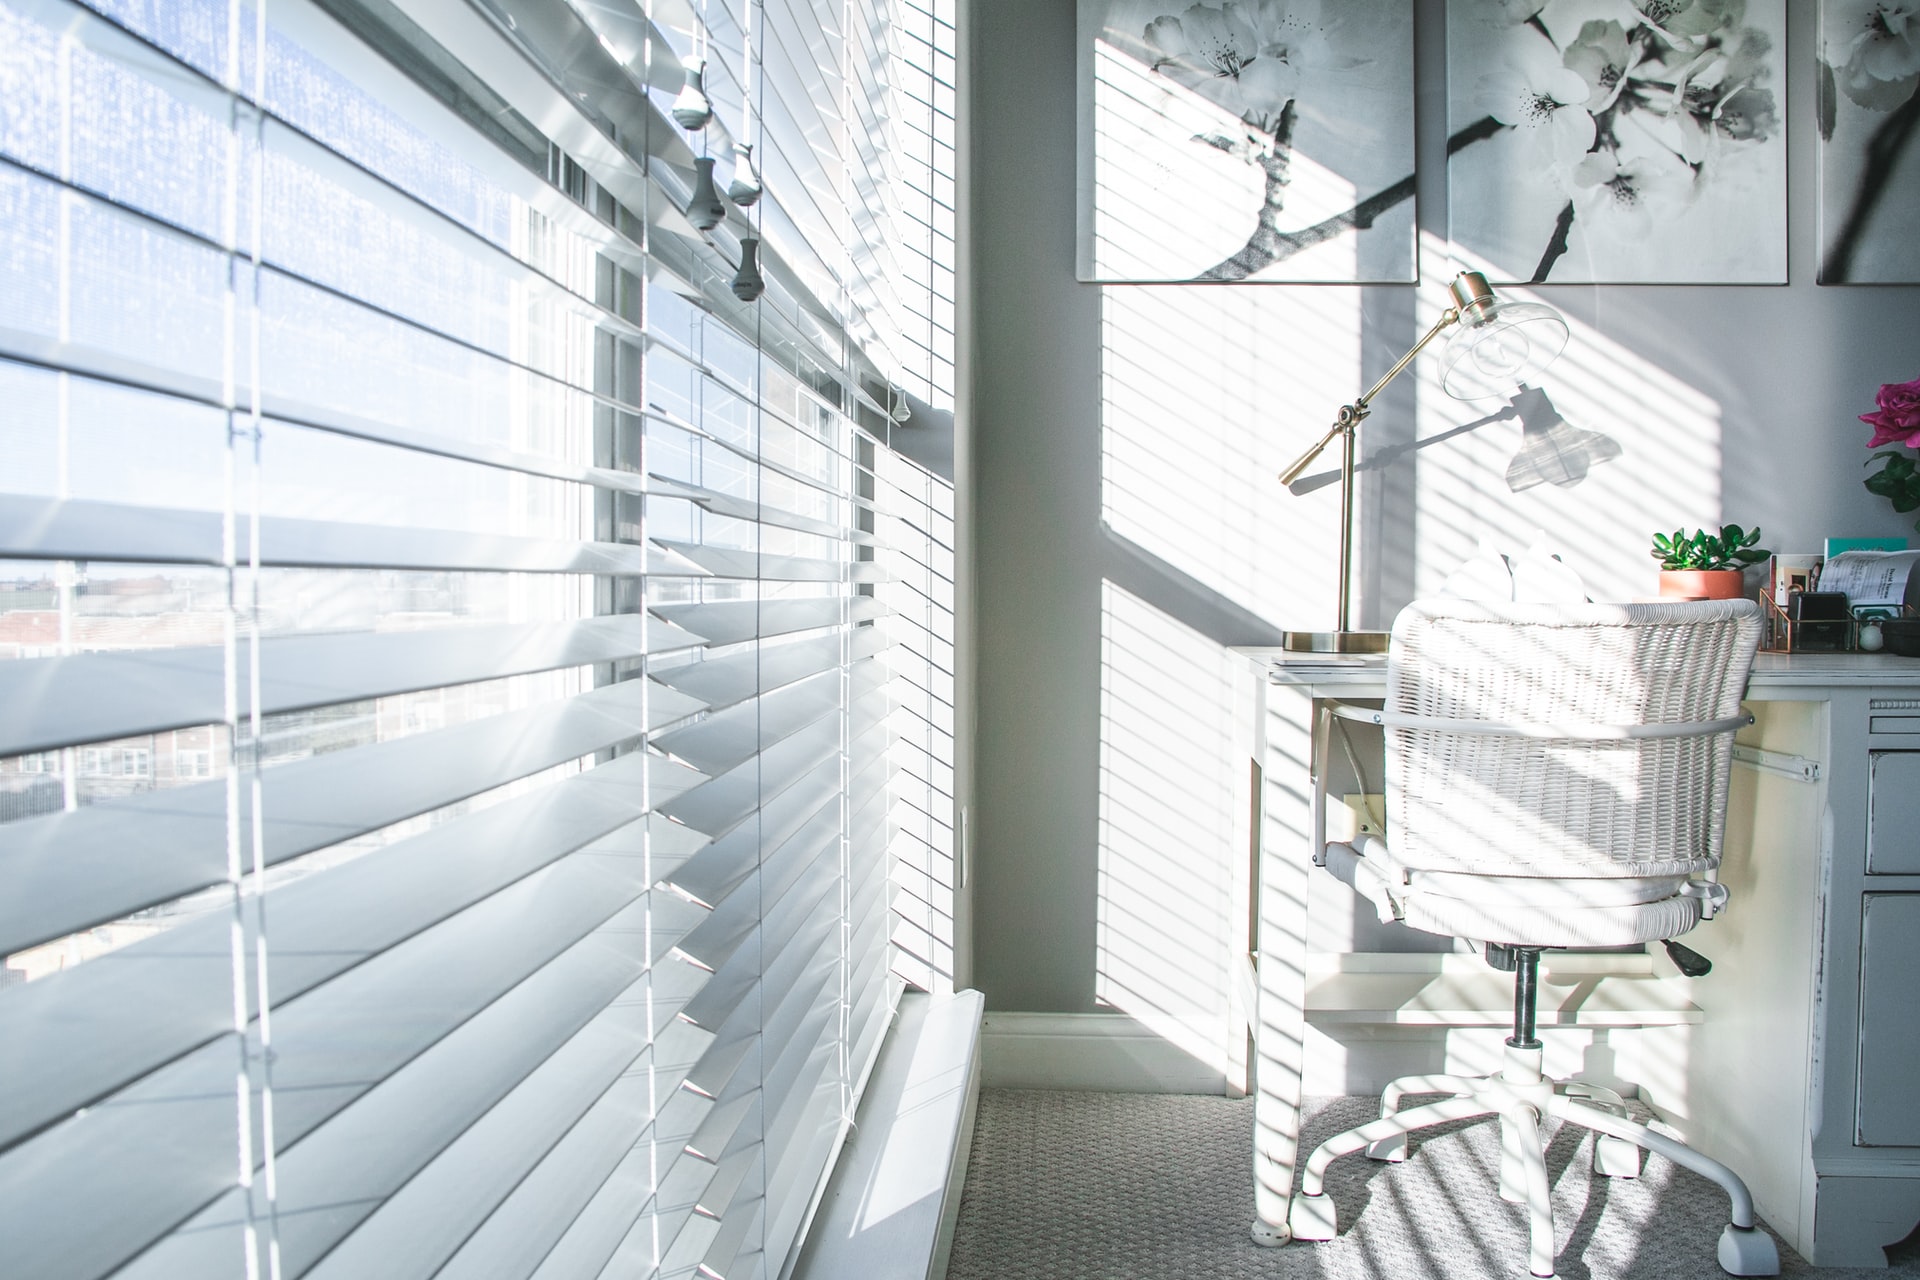
How do you fix the issue of windows giving off an echo?
The easiest way is to cover them with something like blackout curtains or heavy curtains with lots of material. Blackout curtains are typically heavier materials that are dense, rough and soft, so they are going to be great for absorbing sound and preventing sound from getting to the window. If your room is multipurpose, then consider getting heavy curtains you can pull over your window when recording.
Pro tip: Curtains or moving blankets are great at absorbing sound and are a cheap alternative to more costly products on the market.
Consider A Room Divider
If you have a huge room, then room dividers might be a great option for you to make a smaller space. They are cheaper than building a new wall and come in various materials that can help absorb sound and split up the space. As a last resort option, a moving blanket attached to the ceiling and draped down will do the same thing, but if you plan on using the other part of the room for other activities, a room divider can be a no-brainer.
The Easiest Way To Stop Echoes In Any Room
From my experience in setting up dozens of podcast studios and coaching hundreds of people, there is a series of things I will check to get the best sound quality possible. Before I do anything, it's important to listen to the room. Speak loudly and listen for outside noises. Take note of what you hear. If there isn't an echo and the sound in the room is good, you don't need to do anything. If there is an echo or the sound quality of the room isn't great, this is what I have found that works best to get great sound.
There are three ways to get the best sounds in any room from my experience. The key is to focus on the walls, ceiling, and floor when soundproofing. The floor may not give off a huge echo but it's the largest amount of real estate to absorb sound on.
Putting down a large shaggy rug is going to give you tons of sound absorption and is nice to sit on and walk on. It can be a pain to clean, but a shaggy rug that has fibers between a half-inch and an inch thick will do a great job at absorbing a variety of sounds. If you hate shaggy rugs, do yourself a favor and get a carpet you like. Carpets are sound waves' worst nightmare. They contain plenty of small crevices for sound to get caught in and soft, rough material to absorb sound waves.
The second area to focus on is the walls. If you're looking for a cheap material to cover the walls, using a moving blanket is a great option. Typically 1-2 of them can cover a wall and they can be taken down pretty quickly. Personally, I used this in my office as I was changing my office somewhat regularly. You don't want them stretched out, you want them to be nice and wavy. Even better, they can be held up with thumbtacks. They do a great job at absorbing sound and are very affordable.
If you're looking for a temporary solution and don't want to put thumbtacks in the wall you can use a backdrop holder for your blanket to. It will take up a little space but they come with clips to hold the blanket and can usually cover up to a 10 foot long section.
Another great option for sound absorption and diffusion on the walls is adding the panels discussed above. They are great and are relatively inexpensive. They are a more permanent fixture, however when organized correctly, they can be an impressive touch to the room. Amazon and several other companies also sell art acoustic panels that are stylish as well as helpful in absorbing sound.
Lastly, the ceiling is a great place for sound to collect and bounce down on. Typically harder to work on, there are some cool options to add a unique vibe to your studio while minimizing echos and sound reverberation. Acoustic ceiling tiles are a great option to add to your ceiling and staggering a few can have a massive impact on how your studio sounds. These are very popular in restaurants and "industrial style buildings'' because they fit the style and are necessary with all of the hard surfaces that won't be able to absorb sound. Another advantage of acoustic ceiling tiles is they can go just about anywhere. Most people think they need them only for their podcast studio. When styled correctly, acoustic ceiling tiles can be put in living rooms, dining rooms, and other areas to help absorb sound.
Bonus: If you have additional space in the room that won't impede on your podcast studio, get a little creative and fun with it. Start to have fun and stylize your room. Adding things, such as a couch, is a great way to absorb sound and add functionality as well. Feel free to get creative. If you prep the room to absorb sound, then adding additional objects can help with breaking up sound waves and having an overall good appearance for the room.
Consider Your Equipment
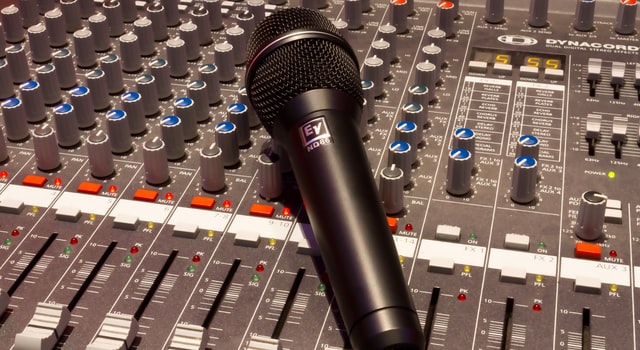
Arguably as important, if not more important, for audio quality is having great equipment. A microphone such as the Shure SM7B is a great option for loud rooms. It's gain is so low that most people add a cloud lifter to increase gain, so they hear people better when speaking into the microphone. Additionally, getting a good mixer will help as well with sound quality and controlling how much outside noise you can hear.
Create A Soundproof Box For Your Mic
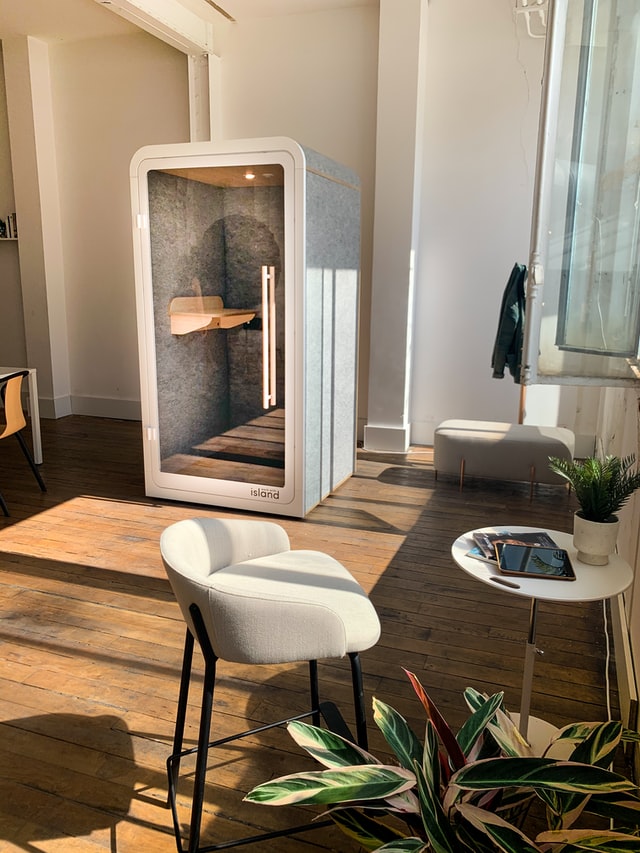
If you're doing zoom podcasts, then prepping your room is important, but nowhere near as important as setting up your desk appropriately. Having a sound box for your mic can help keep your voice from carrying around the room and increase sound quality while also lowering distractions for you when speaking. These boxes can either be homemade for less than 20 dollars or purchased online. Something like the Monkey Microphone Isolation Shield can help capture sound waves before they go around the room and start to echo. It's the most cost-efficient way to control sound but should only be used when recording by yourself.
Where Else Could I Record?
Believe it or not, if you're not publishing video, a great place to record is your closet. I know not everyone has the luxury of a walk-in closet, but even if you don't, you’ll want to face your closet or be inside of it when recording. Clothes do a great job of absorbing sound, and all of the ruffles they have and open spaces are great for absorbing sound. This is a great, free option you can record in and will give you some of the best sound quality possible. Other areas to record that seem to do well are living rooms and bedrooms. They both usually contain furniture, objects, and carpet which is great for diffusing and absorbing sound. Keep in mind that if you choose to use a room that isn't sound-treated, you're going to want to make sure you test before you record.

Basic Tools Required For Easy And Quick Soundproofing
If you're looking to go quick and easy, there are a couple of small tools that will make your life a million times easier. When it comes to your podcast studio setup there are two things to consider. You need to decide: is this permanent or temporary? This will weigh tremendously on your decision for how you choose to get everything attached to the wall, ceiling and floor.
Conclusion: How Much Of A Room Can Be Soundproofed?
This sounds crazy, but you can go off the deep end. When soundproofing, it's important to do enough to where it's not distracting to you or your guest and you don't hear the ambient noise on the microphones. With good podcast gear it's easy to have a great podcast studio setup. You can cover your room in acoustic ceiling tiles, have the best wall acoustic sound panels and go overboard with acoustic treatment, but your gear plays a huge factor. Also knowing how to use your podcast equipment is very important. Speaking from experience, I’ve had the good fortune of recording in many different locations. Some of them were perfectly quiet and others a bit noisy. You always want to do your best to get rid of unwanted noise, but the sad reality is that's not always possible. Leveraging your mixer and getting good podcast equipment will give you the highest quality professional sound you're looking for.
I Don't Have A Podcast Yet
If you don't have a podcast yet but you're looking to start one, don't worry there are tons of articles in my blog that cover everything you want to know about podcasting. If you're looking to get started and you're looking for some good gear check out this article on how to start a podcast for less than $500. It covers all the equipment you need for a reasonable price. If you take the knowledge from that article and this article, you are on your way to having professional sound quality and an awesome show.
Semi-Permanent Setups
If you're looking for a semi-permanent setup, it's important to make sure that everything above can be removed. For example, when I was attaching my acoustic sound panels to the wall I would use push pins to secure them. There are ways for more permanent setups that look more visually appealing I will cover below, but make sure you can remove everything. If you're buying a carpet, make sure you can use it even after having a podcast and changing that room over. Acoustic ceiling tiles can be a little tricky to secure temporarily, but push pins or 3M strips should get the job done. With my last two studios I always made sure everything was semi-permanent. I had all the fancy acoustic sound panels but made sure I could remove them when I was done in the room. I also made sure my acoustic panels were great quality but never went overkill. It's easy to get carried away, but focus on the areas that have the most impact for your room and go from there.
Permanent Setups
On the rare occasion you know that your setup is going to be permanent, congratulations! You are one of the few with this luxury. This is one of the only times I recommend people go overboard with their podcast studio setup. I normally don't say this but it's a rare luxury. This is when you want to go all out with some higher-end equipment. You can get higher-end acoustic sound panels for the walls and ceiling. As you progress through the process, it's important to take a minute and listen to your room. Is it good enough or do you want it to be perfect? Typically, people with permanent podcast studio setups are going to have better quality equipment for their show as well. All of this will have a massive impact on your show.
I Need 1-To-1 Help
If you're someone who needs help and wants 1-to-1 assistance, feel free to meet with me. I would be happy to go over your situation and discover where we could make improvements to your podcast studio setup. After meeting with me, you will have a clear direction on what you need to do as well as a custom equipment list for your room.


-1.jpg?width=352&name=63b506a84a870856792a42cd_Untitled%20(4)-1.jpg)

